Data Log Feature Description
Data logging is one of the historical features of Canvas. This property allows users to track digital and analog tag data and save a log file of this data or display it with a data log table object. The data is collected in real-time at specified intervals and in data blocks that the user configures.
The generated log file can be converted into a CSV file and stored externally1.
Note: Choosing Local or FTP as a storage option may affect the life cycle of HMI's storage. It is recommended to use external storage to avoid degradation of the HMI's storage.
Data Log Designer Functionalities
The following functionalities can be configured in the Canvas software.
Data Log Editor
To open the Data Log Editor window, click Tools > Data Log Editor. This window contains the Logger Settings and Tag List tabs. This is where users can create new data logging models, add tags, and edit existing models.

Logger Settings
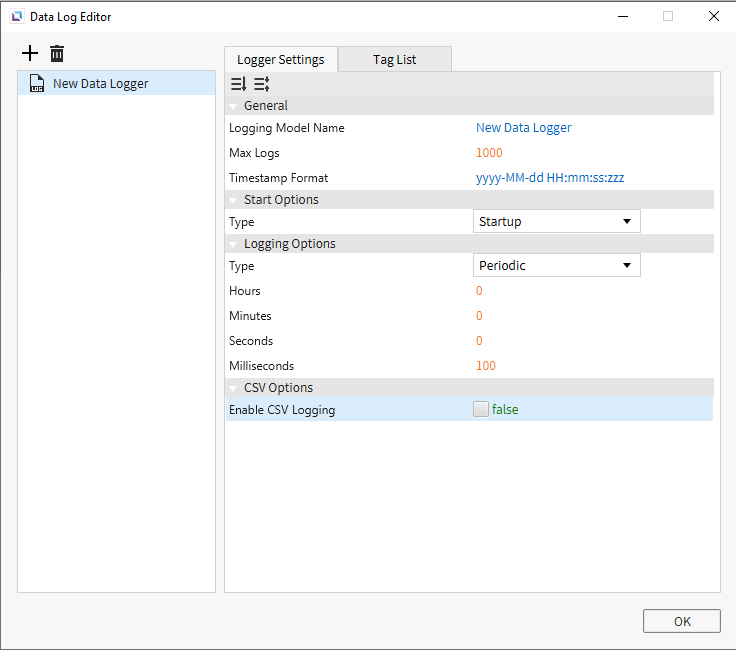
The logger settings tab allows users to create and name new data logging models, set the date and time format, declare when to begin logging data, and set the data logging interval.
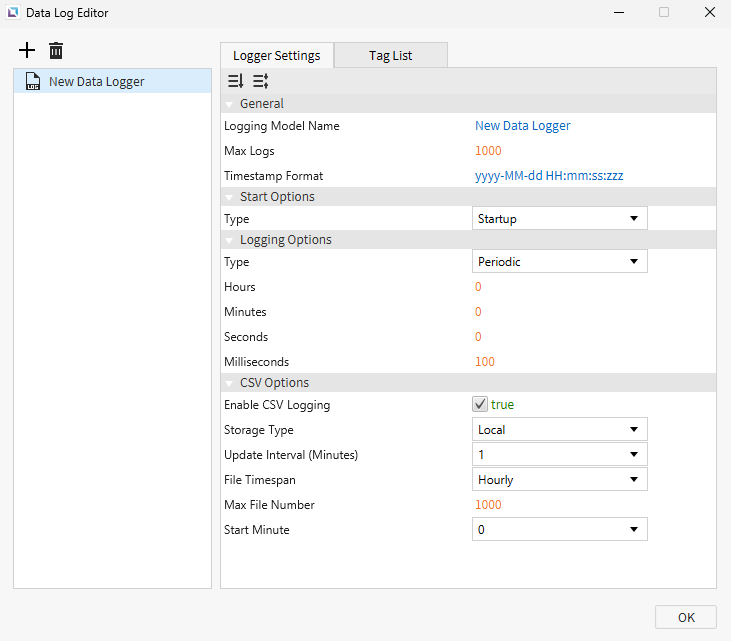
The data log feature includes CSV logging. This can be enabled or disabled for each data log model. If enabled, the storage type, update interval, how far back the file will track, maximum number of files, and start time can be set.
Tag List
The Tag List tab allows the user to add tags that will be data logged.
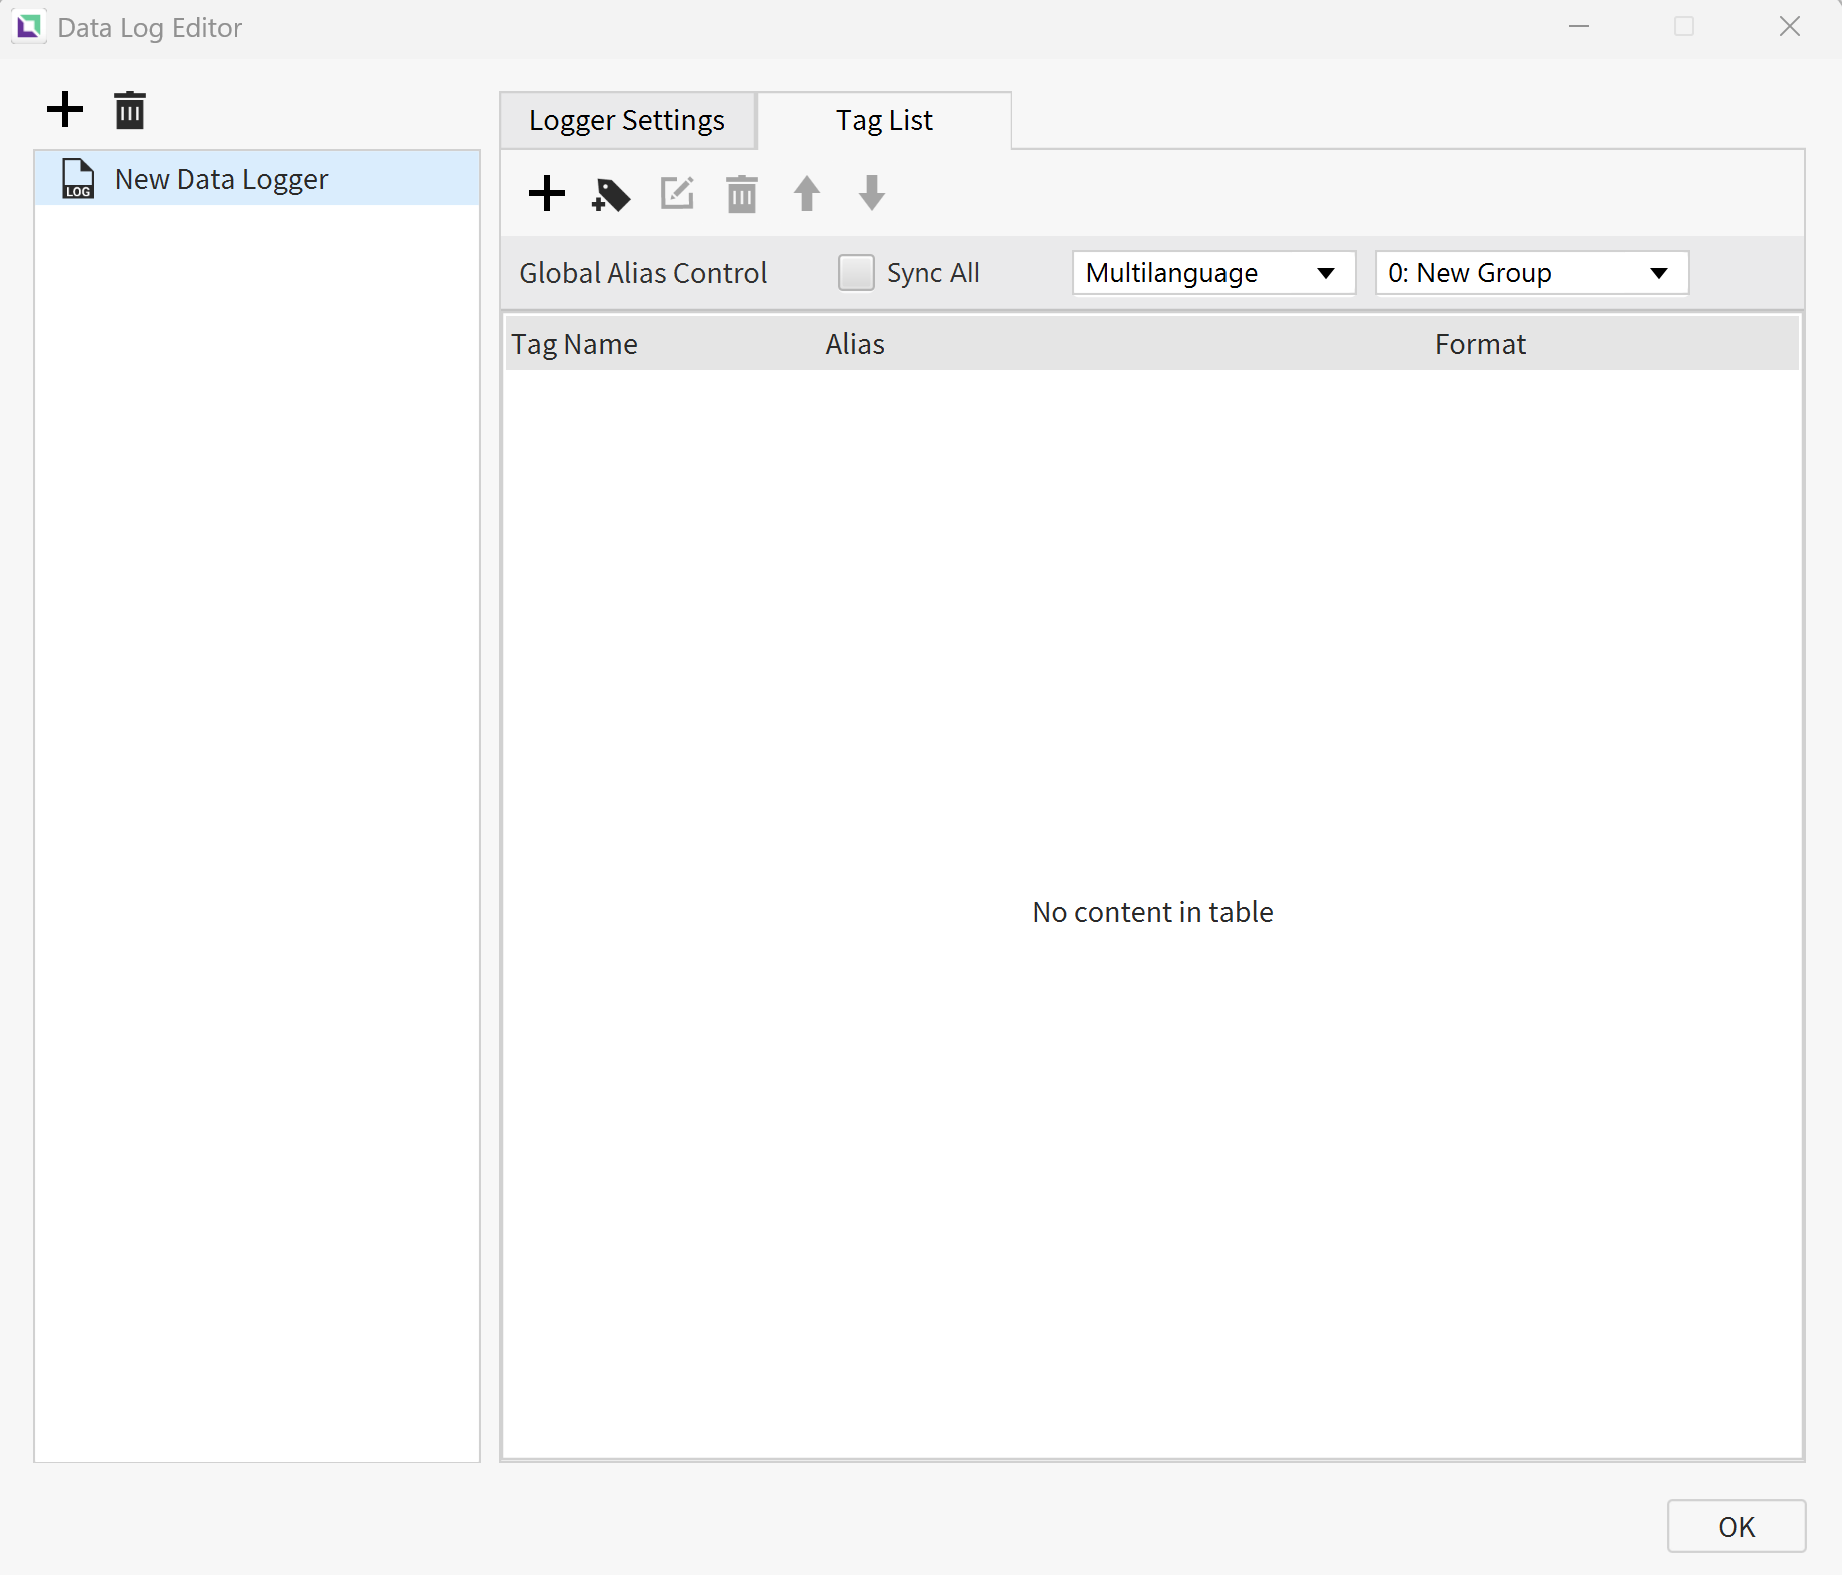
Once added, each tag's Alias can be set using one of three Input Modes: Manual, String Table, or Multilanguage.
- Manual — Type the desired alias directly into the value field.
- String Table — Link the alias to a specific Group and Row in the String Table, displaying the corresponding value instead of manually entered text.
- Multilanguage — Link the alias to a Group and Key in the Translation Editor, displaying the corresponding translated value.
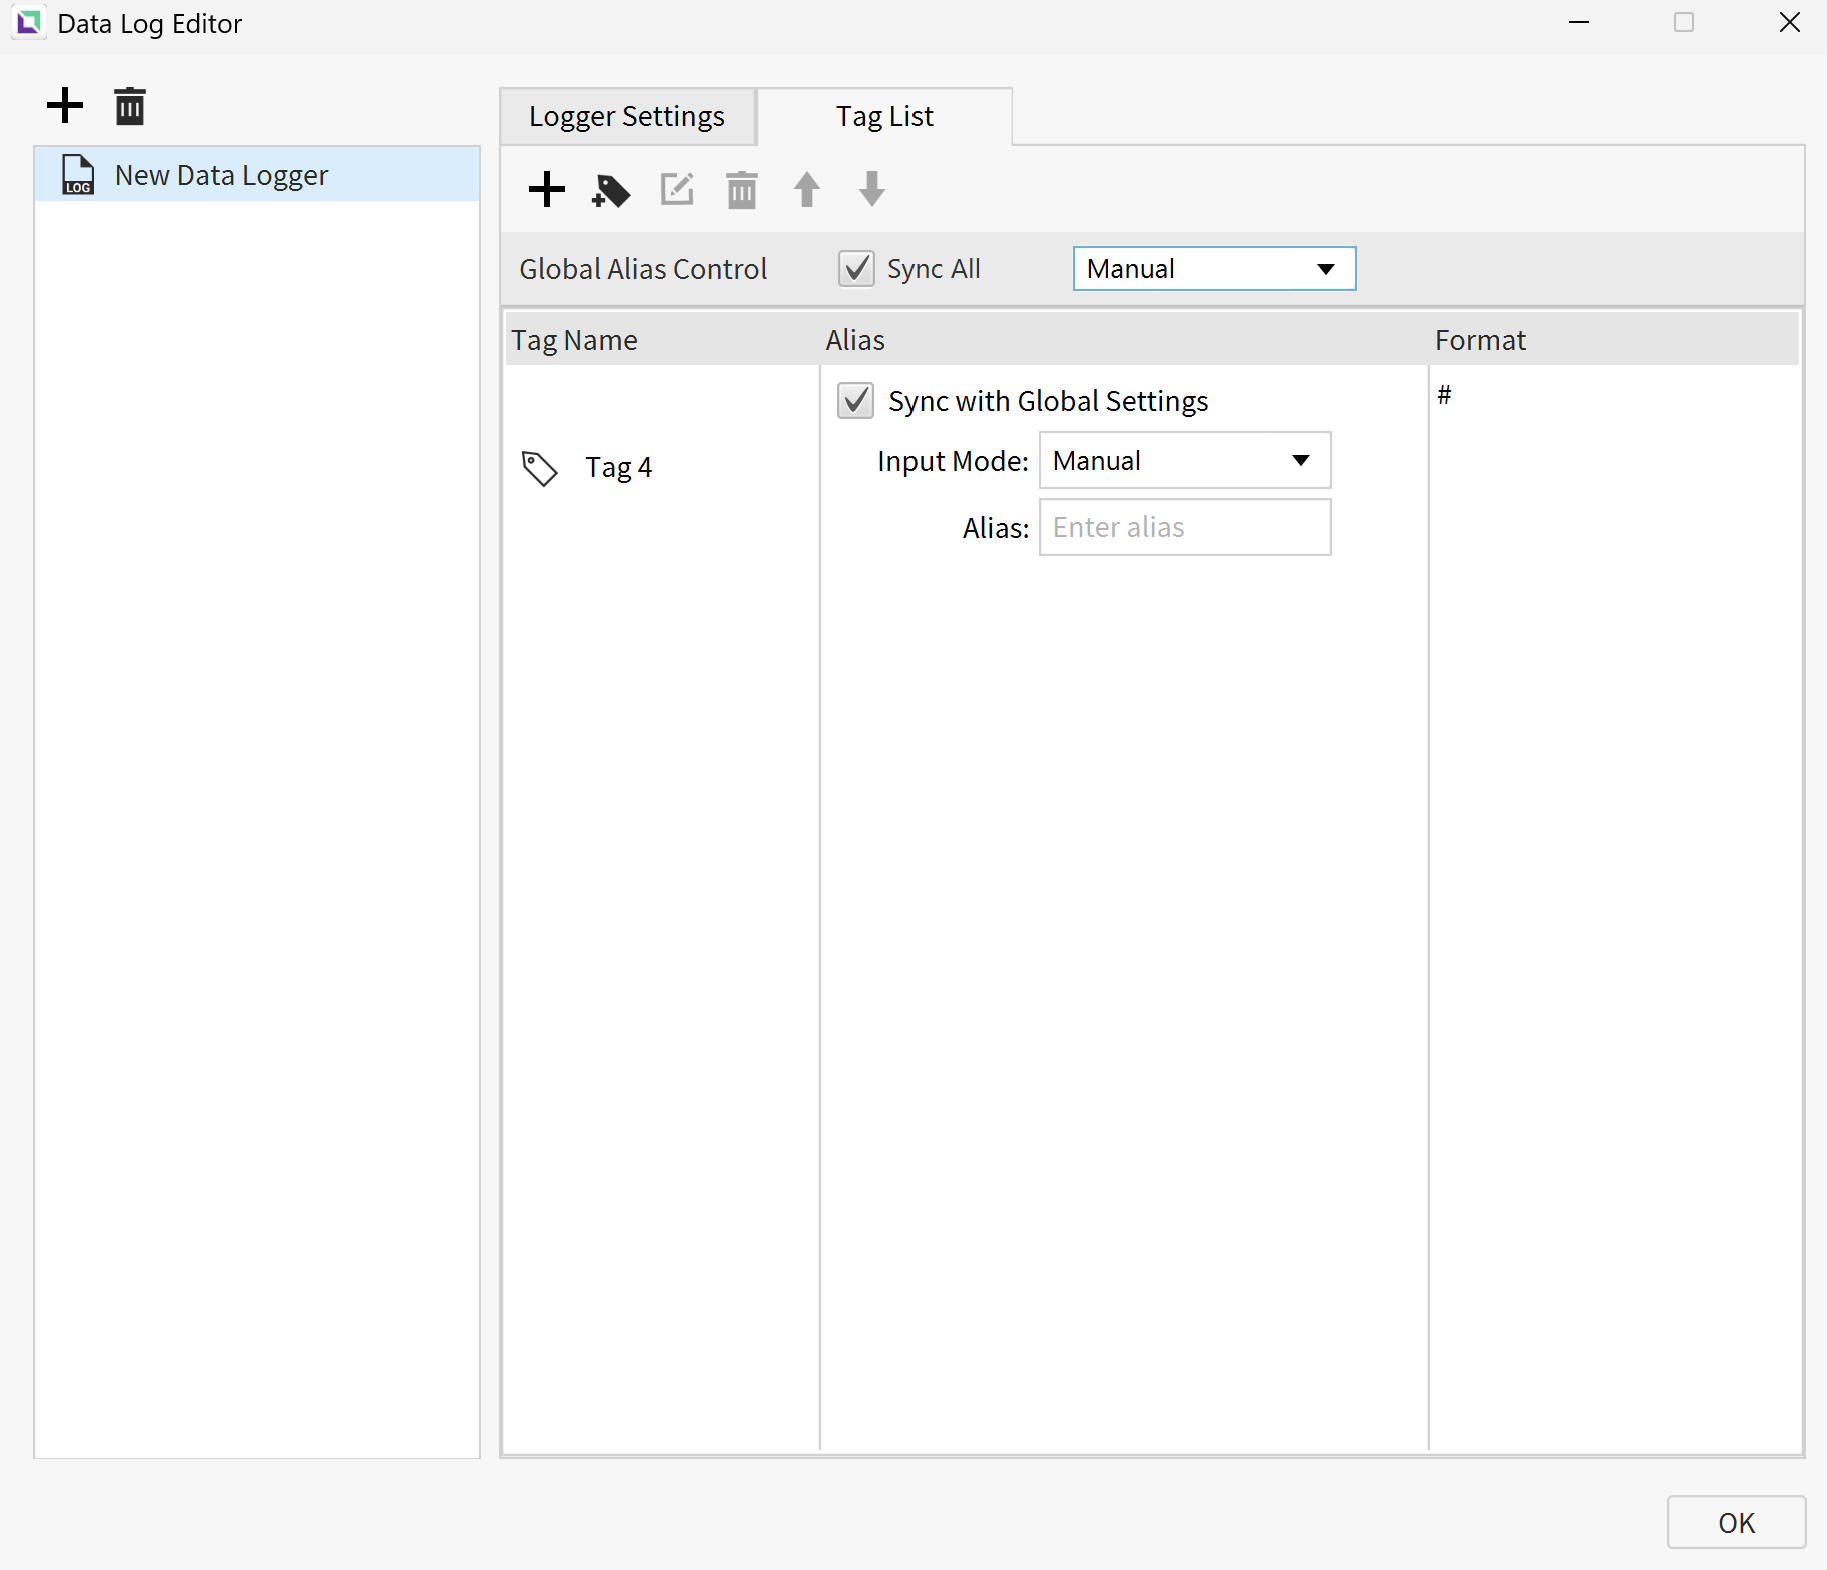
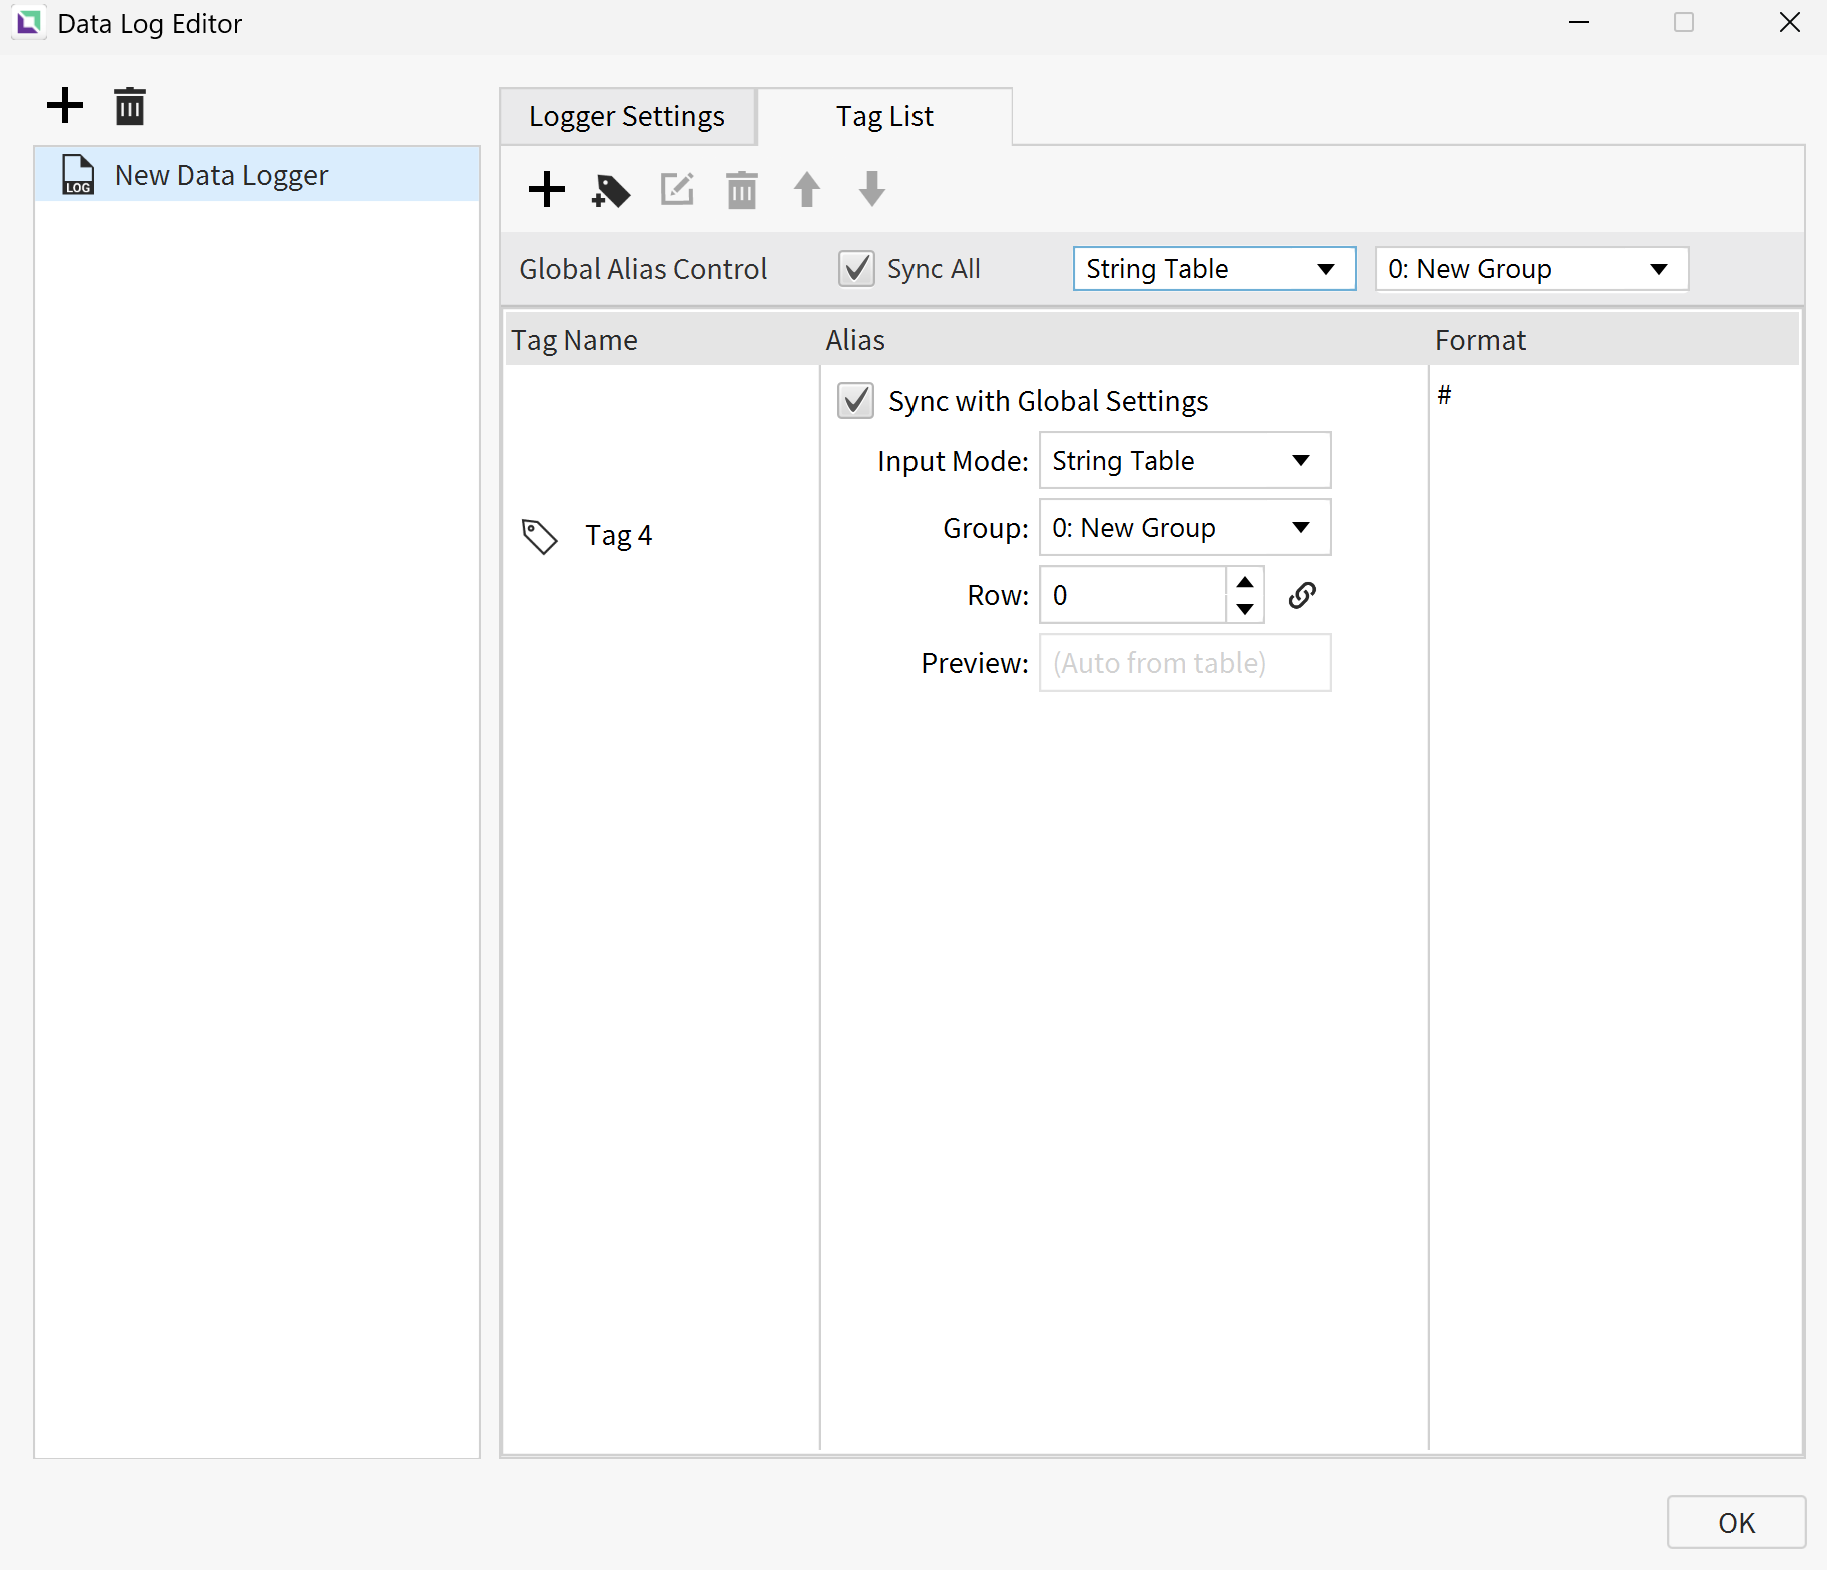
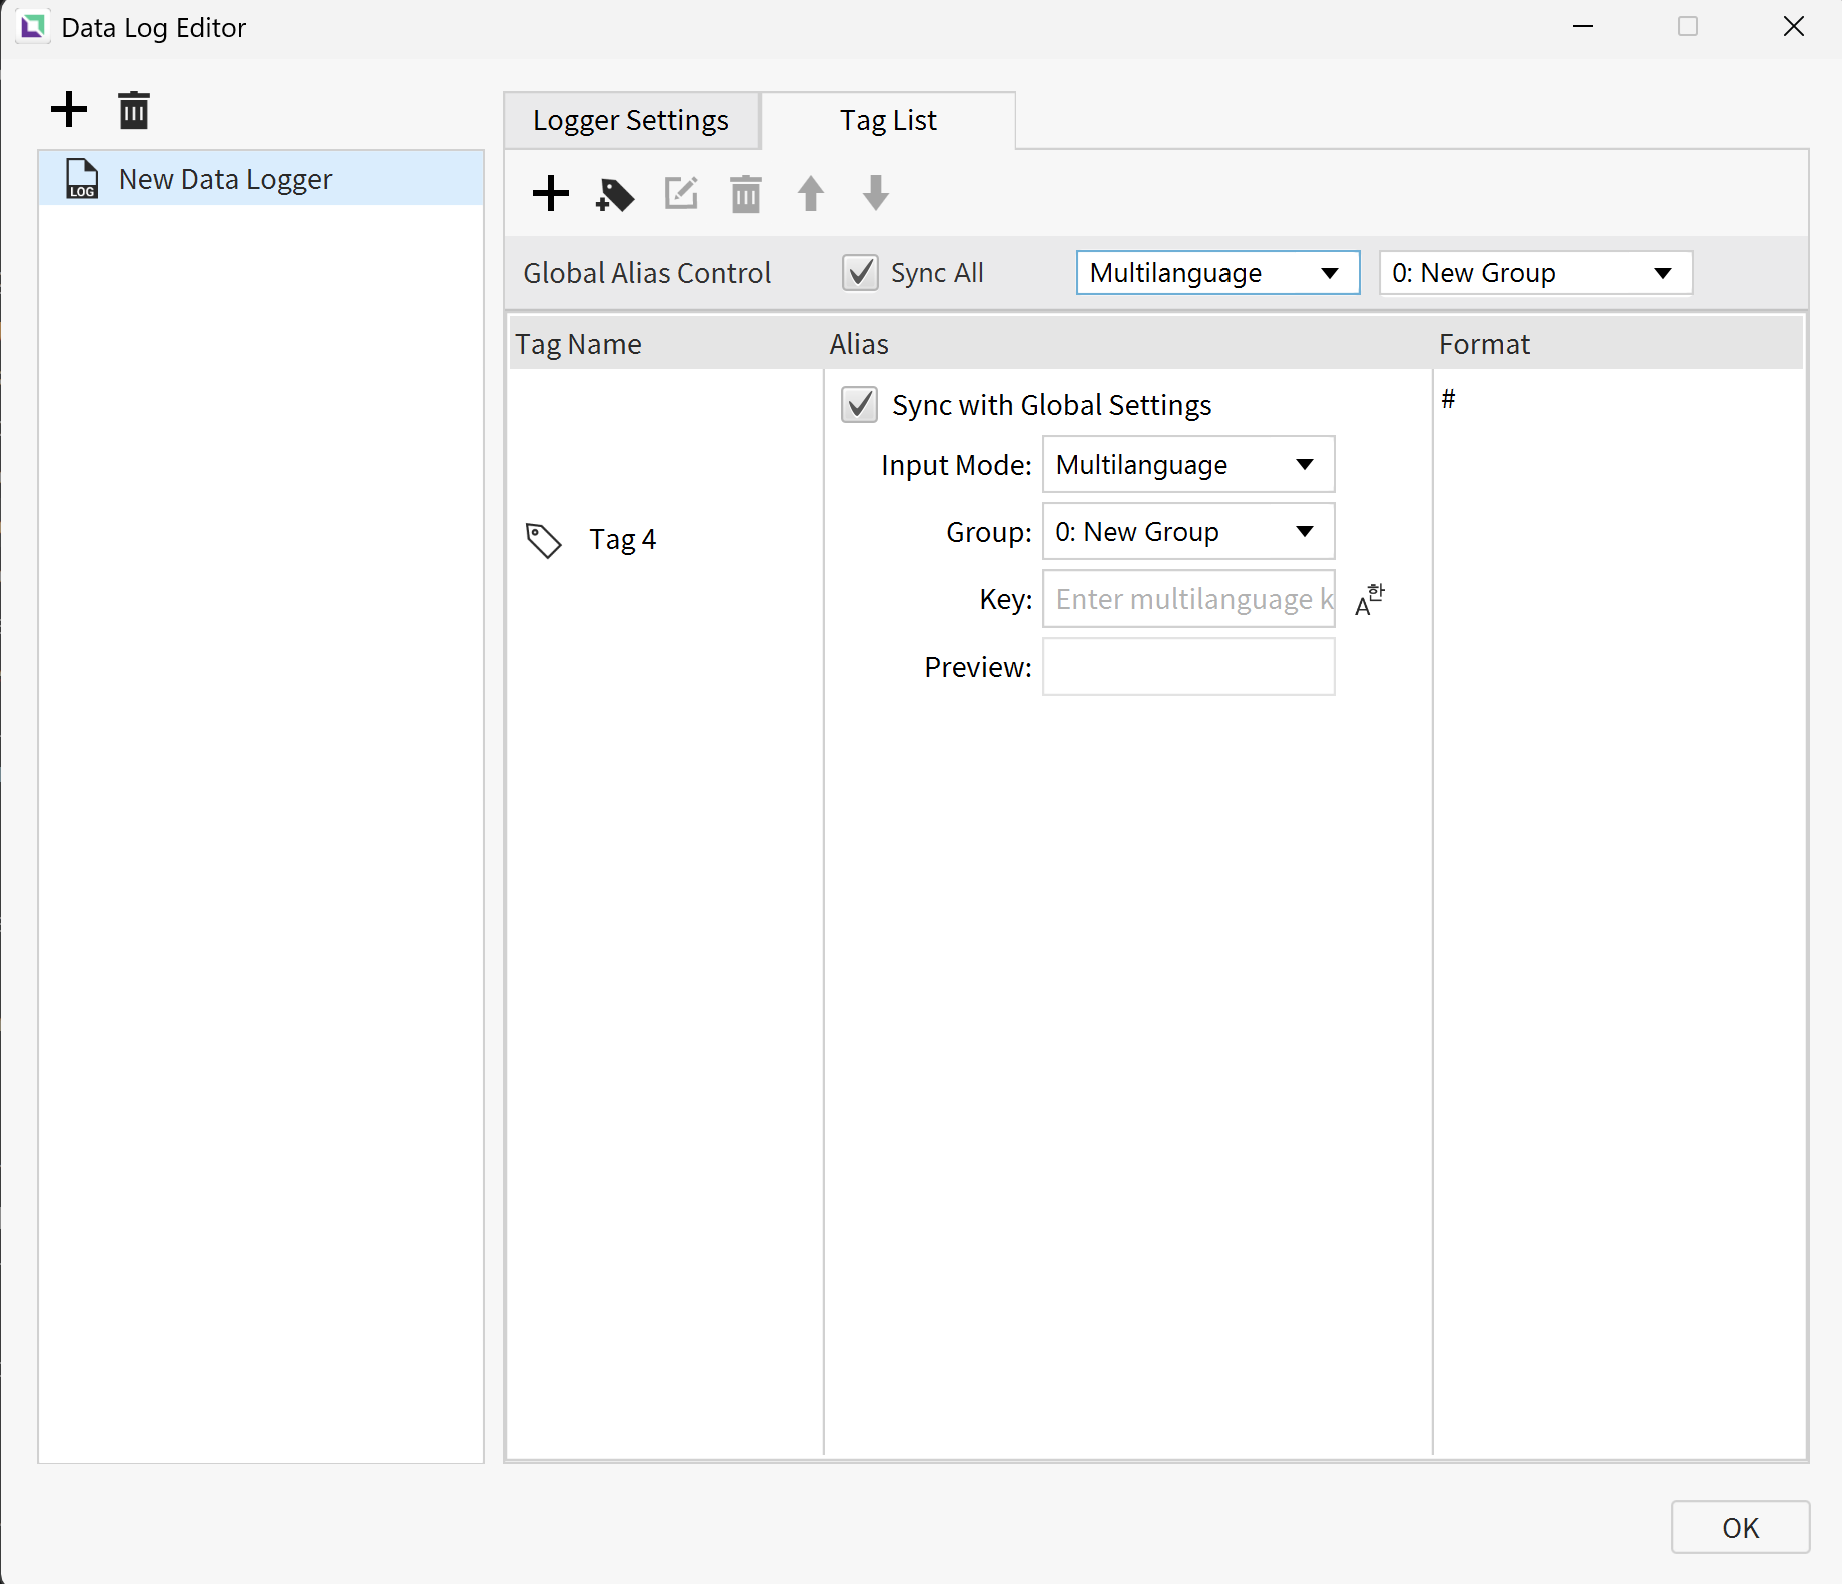
The Global Alias Control setting allows users to apply an Input Mode to all tag aliases at once. Each individual tag's alias can be synced to this Global setting by checking Sync with Global Settings, or set independently by unchecking it. If an alias is manually edited while synced, it will automatically unsync to protect the custom changes.
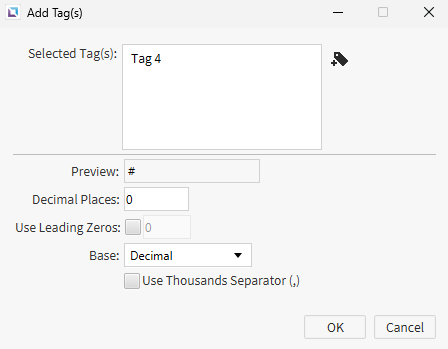
The data logging Format for each tag can also be specified from the Tag List.
Data Log Table
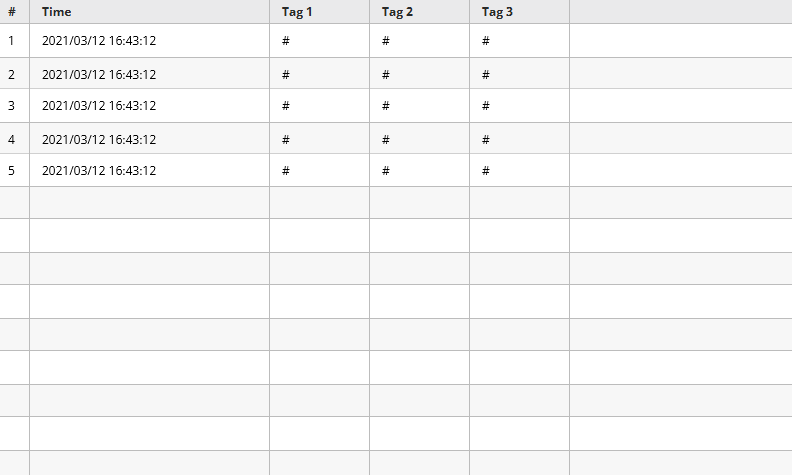
Click Insert > Data Log Table, or the Insert Data Log Table on the toolbar, to insert a data log table. Once selected, click and drag to the desired size. It also allows users to pause/play and scroll up/down the logs in runtime using the buttons. The table will look like the image below:

Properties
The Data Log Table object can be customized based on specific properties.
To ensure the property windows are enabled, click View > Properties.
Basic Properties
The Basic Properties section allows users to change the displayed content, formatting and scrolling behavior of the data logging table. The object’s name will show up in place of Basic Properties.
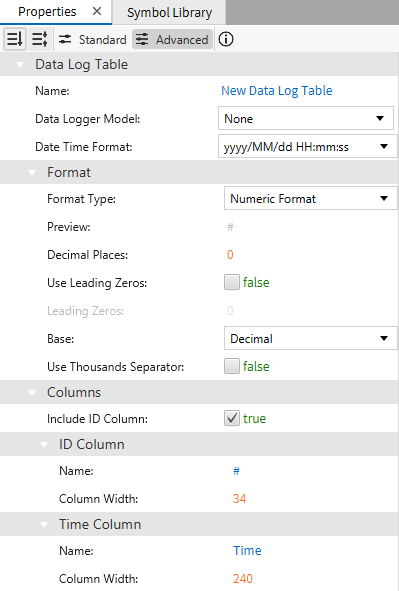
The data log model created in the Data Log Editor must be set under the data logger model property.

Once the model has been selected, the data log table preview will display the tags to data log:
Appearance
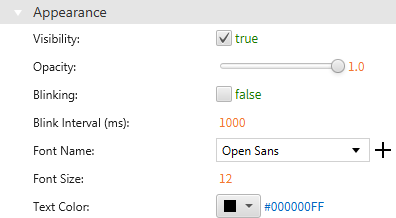
The Appearance section enables users to adjust colors, layout, and visual characteristics, including button location and object size.
Position
The Position section provides adjustable properties that reshape or move the object.

Data Log Runtime Functionalities
Historical
While the program is running, the Data Log Table will continue to record data. This allows for a historical viewing of old data. Users can scroll through the history of the Data Log Table. Up to 5,000 rows will be stored.
Each tag that is logged will create a new column. The Time column will always be available as a default column.
CSV Generation
The Data Log Table can be exported to a CSV for record keeping. The CSV file can be stored using a USB, SD card, File Transfer Protocol (FTP), or local memory on the Xpanel.1
A CSV file can be generated by using the Save Data Log CSV command function.
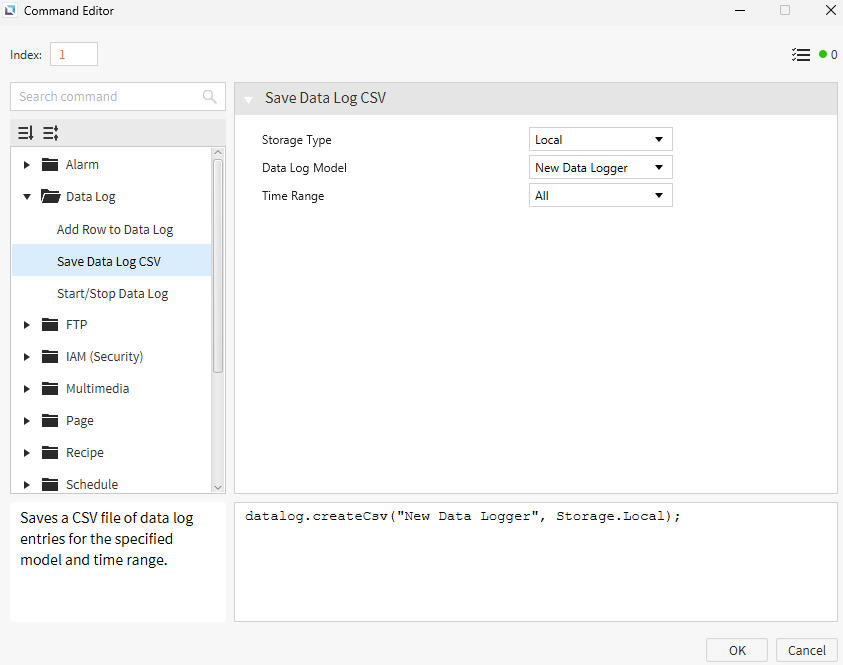
Additionally, a CSV file can be generated using the datalog.createCsv() or datalog.createCsvForRange() scripts.
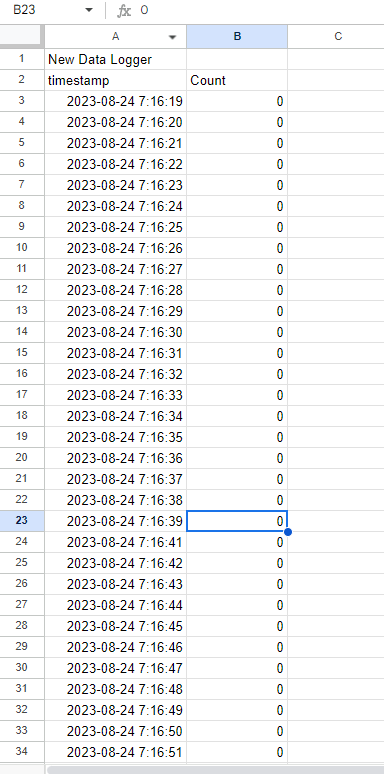
An example of what the CSV file would look like after generation is shown below: